
0
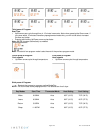
Owner's of the INSTEON Thermostat INSTEON Thermostat gave it a score of 0 out of 5. Here's how the scores stacked up:

Page 7 of 28 Rev: 1/21/2014 8:35 AM
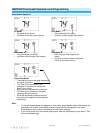
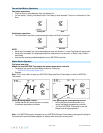
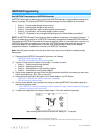
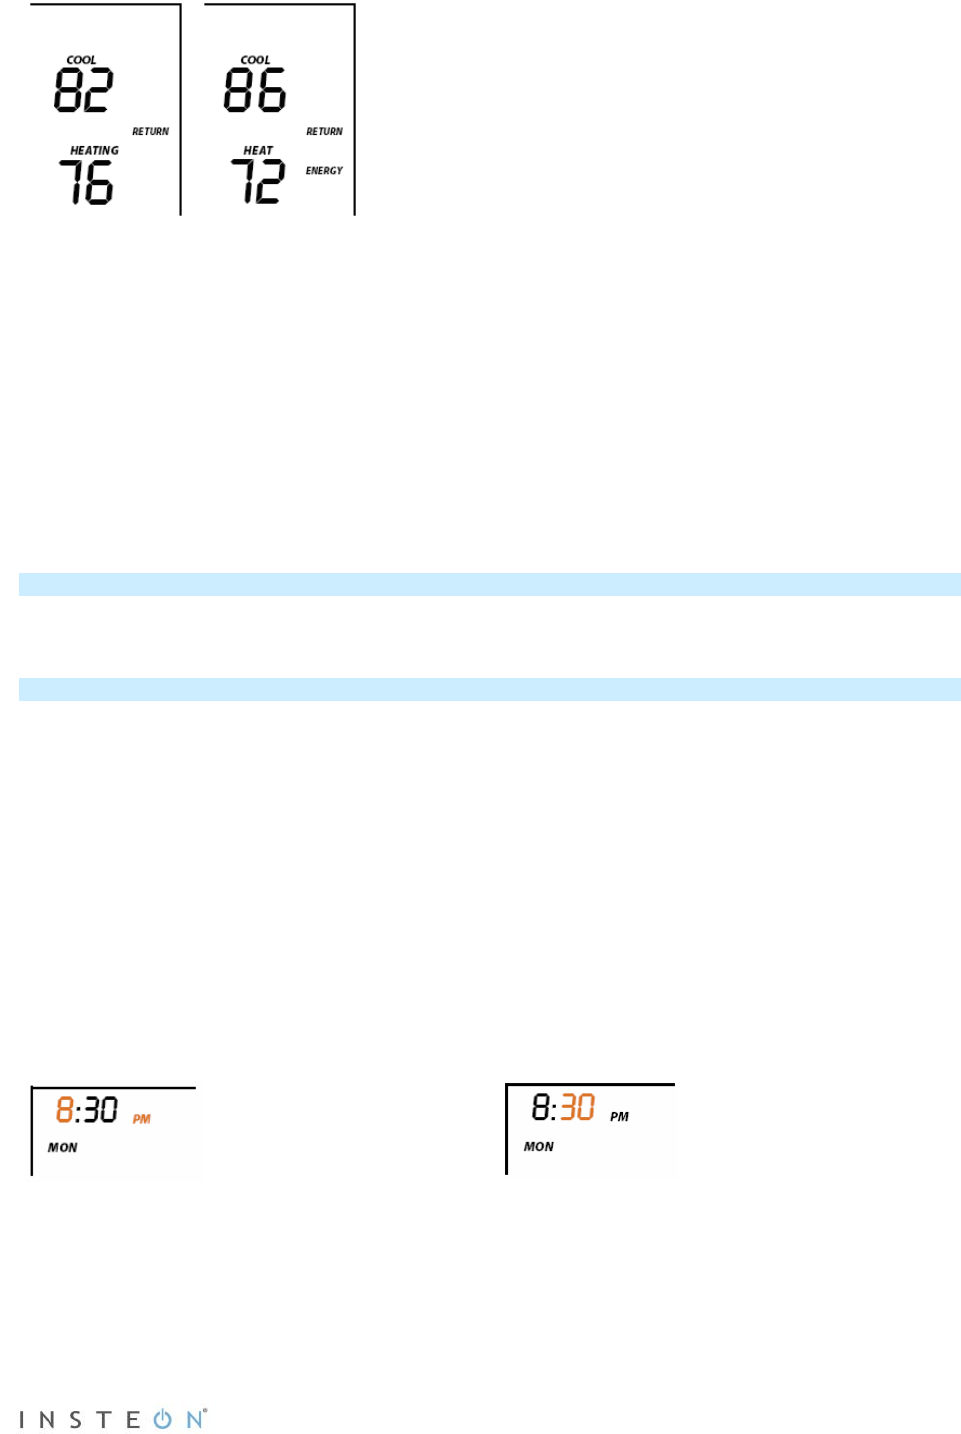
From Time of Day Mode:
• Both Heat and Cool setpoints changed as
specified.
• Default setback is 4°.
• Notice that “Heating” is active on the left, but
not on the right since the setpoint is lower
than the current temperature; the element
reads “Heat.”
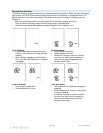
Note: Onscreen text displaying “Heat” changes to “Heating” and “Cool” changes to “Cooling” to indicate
HVAC system is active. The status LED, if enabled, under the door also indicates current active state:
Cooling = green, Heating = red. At time of activation either Heating or Cooling text will blink for 3 seconds
then remain steady during the active cycle.
Set Button Operation
The Set button adds and removes INSTEON Thermostat from INSTEON scenes. It functions like the Set
button on other INSTEON devices.
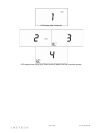
Time/Sensor Button Operations
• The Time/Sensor button allows the user to set the current day and time.
• It cycles among hour, minute, day and 12/24-hour format.
• Up/Down arrows cycle through the available options.
• Go to the next Time/Sensor step by pressing Time/Sensor button again.
• Exit Time/Sensor setup by:
- Timing out (4 minutes)
- Pressing Mode button
Note: Colored elements indicate LCD element that should be blinking during setting procedure.
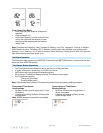
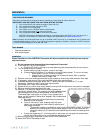
First press of Time/Sensor:
Hours settings
• Up/Down arrows cycle through time in 1-hour
increments.
• Pressing and holding Up/Down arrows cycles
through faster.
Note: AM/PM changes automatically as needed.
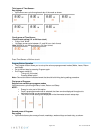
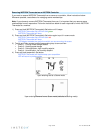
Second press of Time/Sensor:
Minutes settings
• Up/Down arrows cycle through time in 1-
minute increments.
• Pressing and holding Up/Down arrows
cycles through faster.


Find Your Products By Category
- Lawn and Garden
- Household Appliance
- Car Audio and Video
- Computer Equipment
- TV and Video
- Photography
- Home Audio
- Portable Media
- Automotive
- Musical Instruments & Equipment
- Communications
- Personal Care
- Marine Equipment
- Kitchen Appliance
- Baby
- Cell Phone
- Power Tools
- Video Game
- Fitness & Sports
- Laundry Appliance
- Outdoor Cooking
Please Login
