

0
Owner's of the Pioneer Radio AppRadio gave it a score of 0 out of 5. Here's how the scores stacked up:

14
Customizing preferences
Chapter
67
En
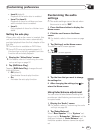
Customizing preferences
CAUTION
Pioneer recommends the use of a camera
which outputs mirror-reversed images.
Otherwise, the screen image will appear re-
versed.
❐ Immediately verify whether the display
changes to a rear view camera image when
the shift lever is moved to REVERSE (R)
from another position.
❐ When the screen changes to full-screen
rear view camera image during normal
driving, switch to the opposite setting in
“Camera Polarity”.
1 Display the “System” screen.
Ü For details, refer to Customizing the
system settings on page 63.
2 Tap [Camera Polarity].
You can select the following polarity:
• Off (default): When the rear view camera
is not connected to this product.
• Battery: When the polarity of the con-
nected lead is positive while the shift le-
ver is in the REVERSE (R) position.
• Ground: When the polarity of the con-
nected lead is negative while the shift le-
ver is in the REVERSE (R) position.
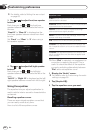
Setting the video signal
You can select the suitable video signal setting
for your rear view camera.
❐ As this function is initially set to “Auto”,
the product will automatically adjust the
video signal setting.
However, the screen may turn black or im-
ages may not be displayed properly when
“Auto” has been selected. Normally, select
the appropriate video signal.
1 Display the “System” screen.
Ü For details, refer to Customizing the
system settings on page 63.
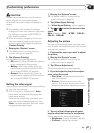
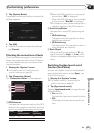
2 Tap [Video Signal Setting].
The “Video Signal Setting” screen appears.
3 Tap or to select the desired video
signal.
Auto (default) — PAL — NTSC — PAL-M —
PAL-N — SECAM
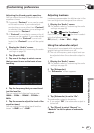
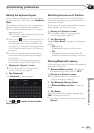
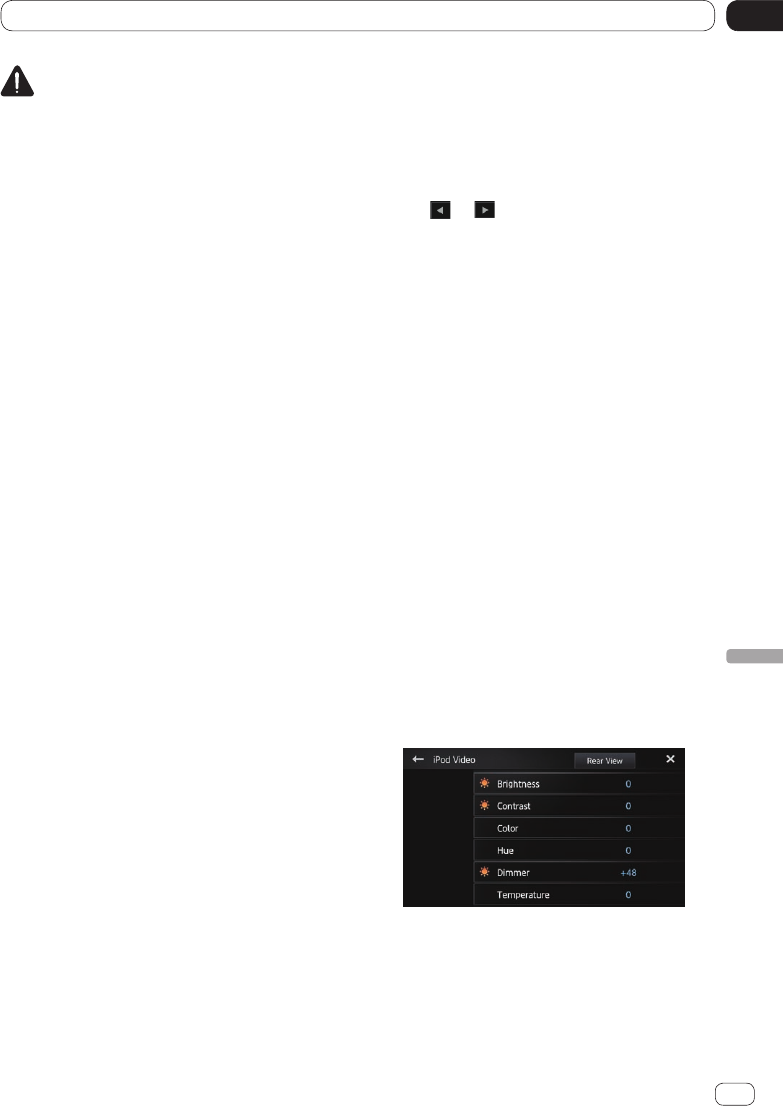
Adjusting the picture
You can adjust the brightness, contrast, color,
hue, dimmer and temperature for each source
and rear view camera.
1 Playback the source you want to adjust
the picture.
2 Display the “System” screen.
Ü For details, refer to Customizing the
system settings on page 63.
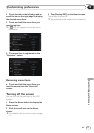
3 Tap [Picture Adjustment].
The picture adjustment screen appears.
4 If you are adjusting the picture adjust-
ment, select the source.
• Rear View: Adjusts the picture for the
rear view camera.
• Source: Adjusts the picture for the
source. The current source name is dis-
played on the picture adjustment screen.
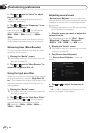
5 Tap any of the following touch panel
keys to select the function to be adjusted.
Picture adjustment items are displayed.
• Brightness: Adjusts the black intensity.
• Contrast: Adjusts the contrast.


Find Your Products By Category
- Lawn and Garden
- Household Appliance
- Car Audio and Video
- Computer Equipment
- TV and Video
- Photography
- Home Audio
- Portable Media
- Automotive
- Musical Instruments & Equipment
- Communications
- Personal Care
- Marine Equipment
- Kitchen Appliance
- Baby
- Cell Phone
- Power Tools
- Video Game
- Fitness & Sports
- Laundry Appliance
- Outdoor Cooking
Please Login
